Step 1: Create Response Types (Optional)
We'll start by adding a Response Type for our evaluation. You may not need to do this, as several response types are included.
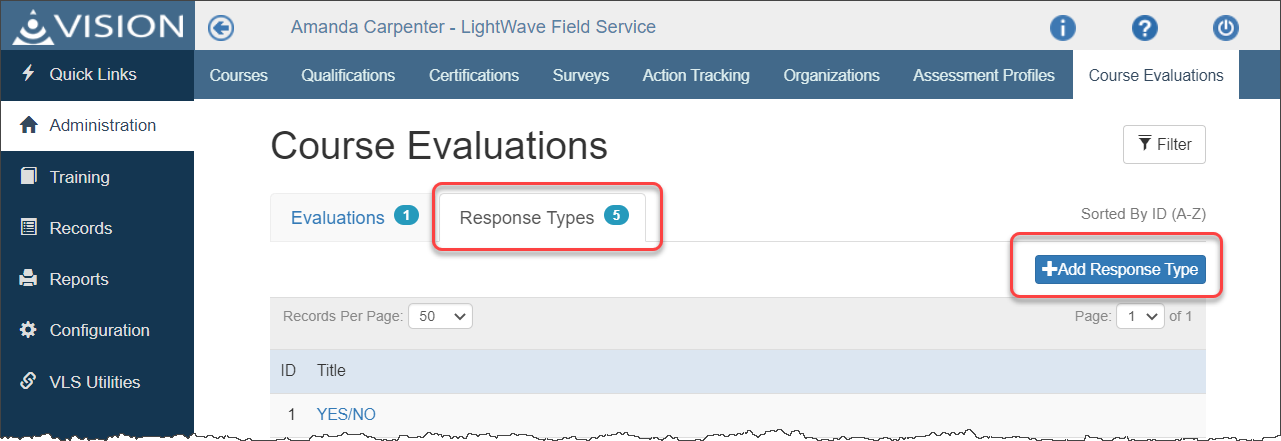
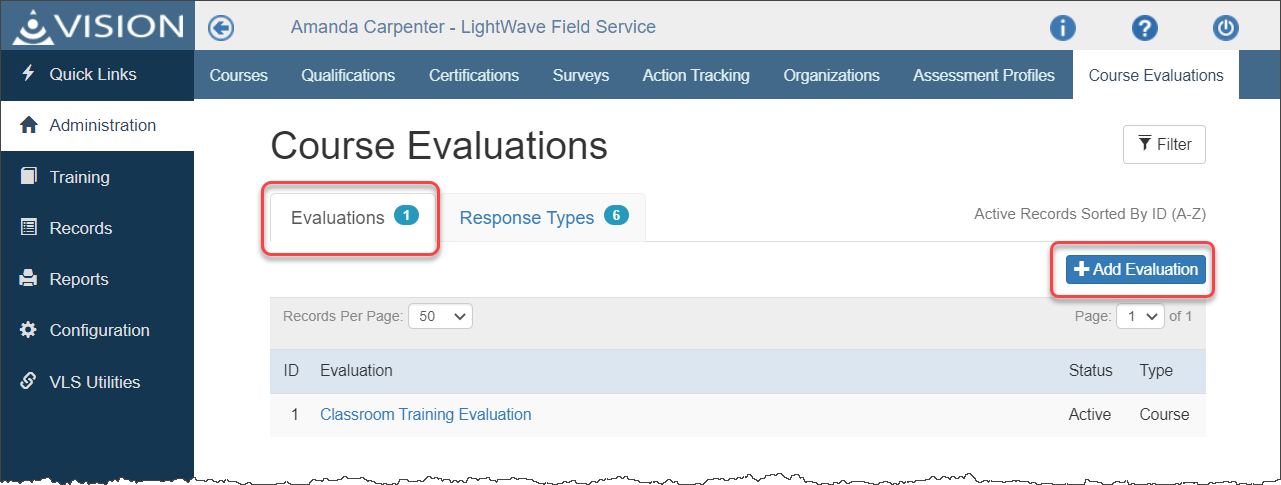
1.In the Administration area, click on the Course Evaluations tab.
2.Click the Response Type tab and then click the Add Response Type button.
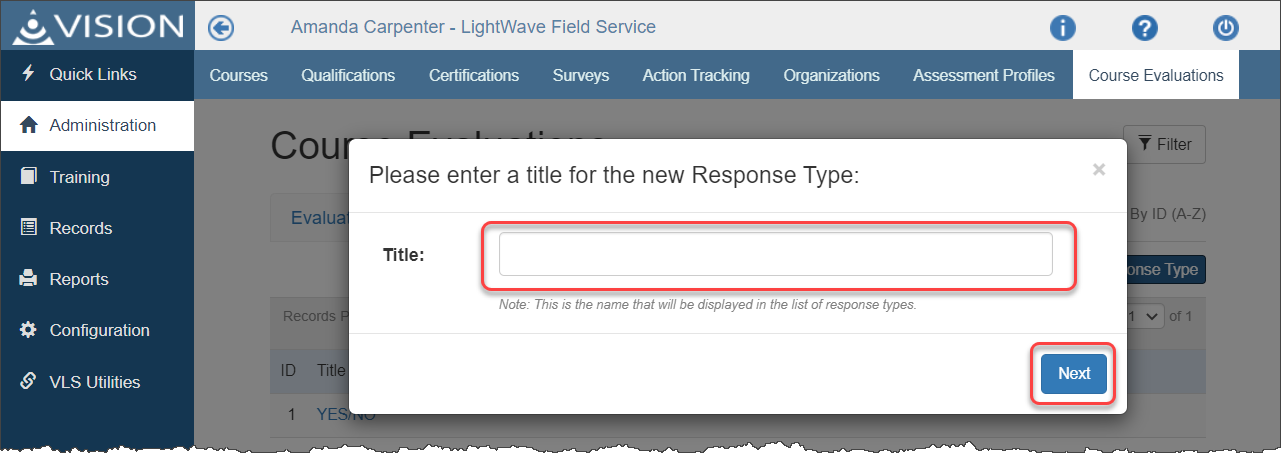
3.Enter a title for the response type and then click the Next button. The title should be descriptive so that you can select this response choice from a list.
4.When you create a response type, three choices are added for you: Unsatisfactory, No Opinion/Neutral, and Satisfactory. Start by editing these choices in the "Edit Choices" section.

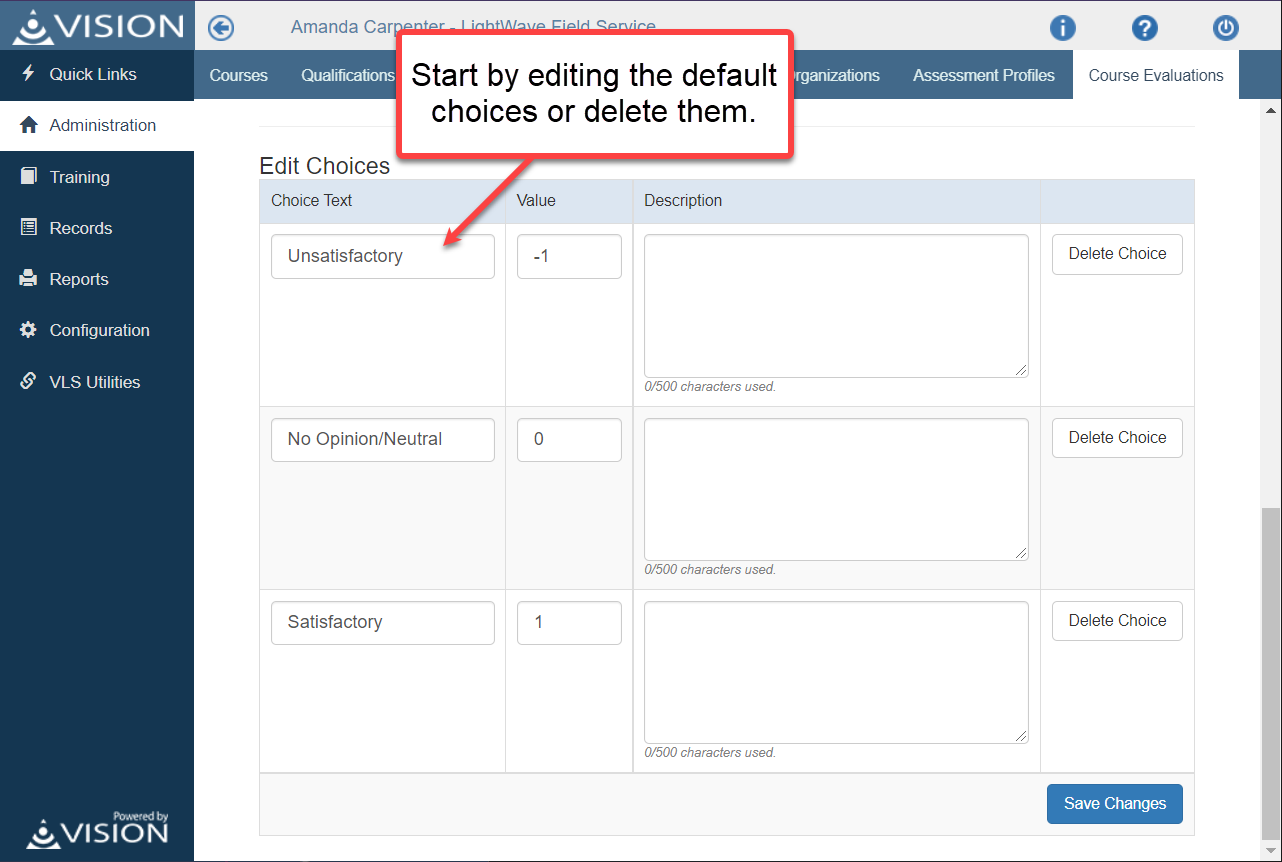
5.Enter the Choice Text, Value, and a description. You can always add more response choices too.
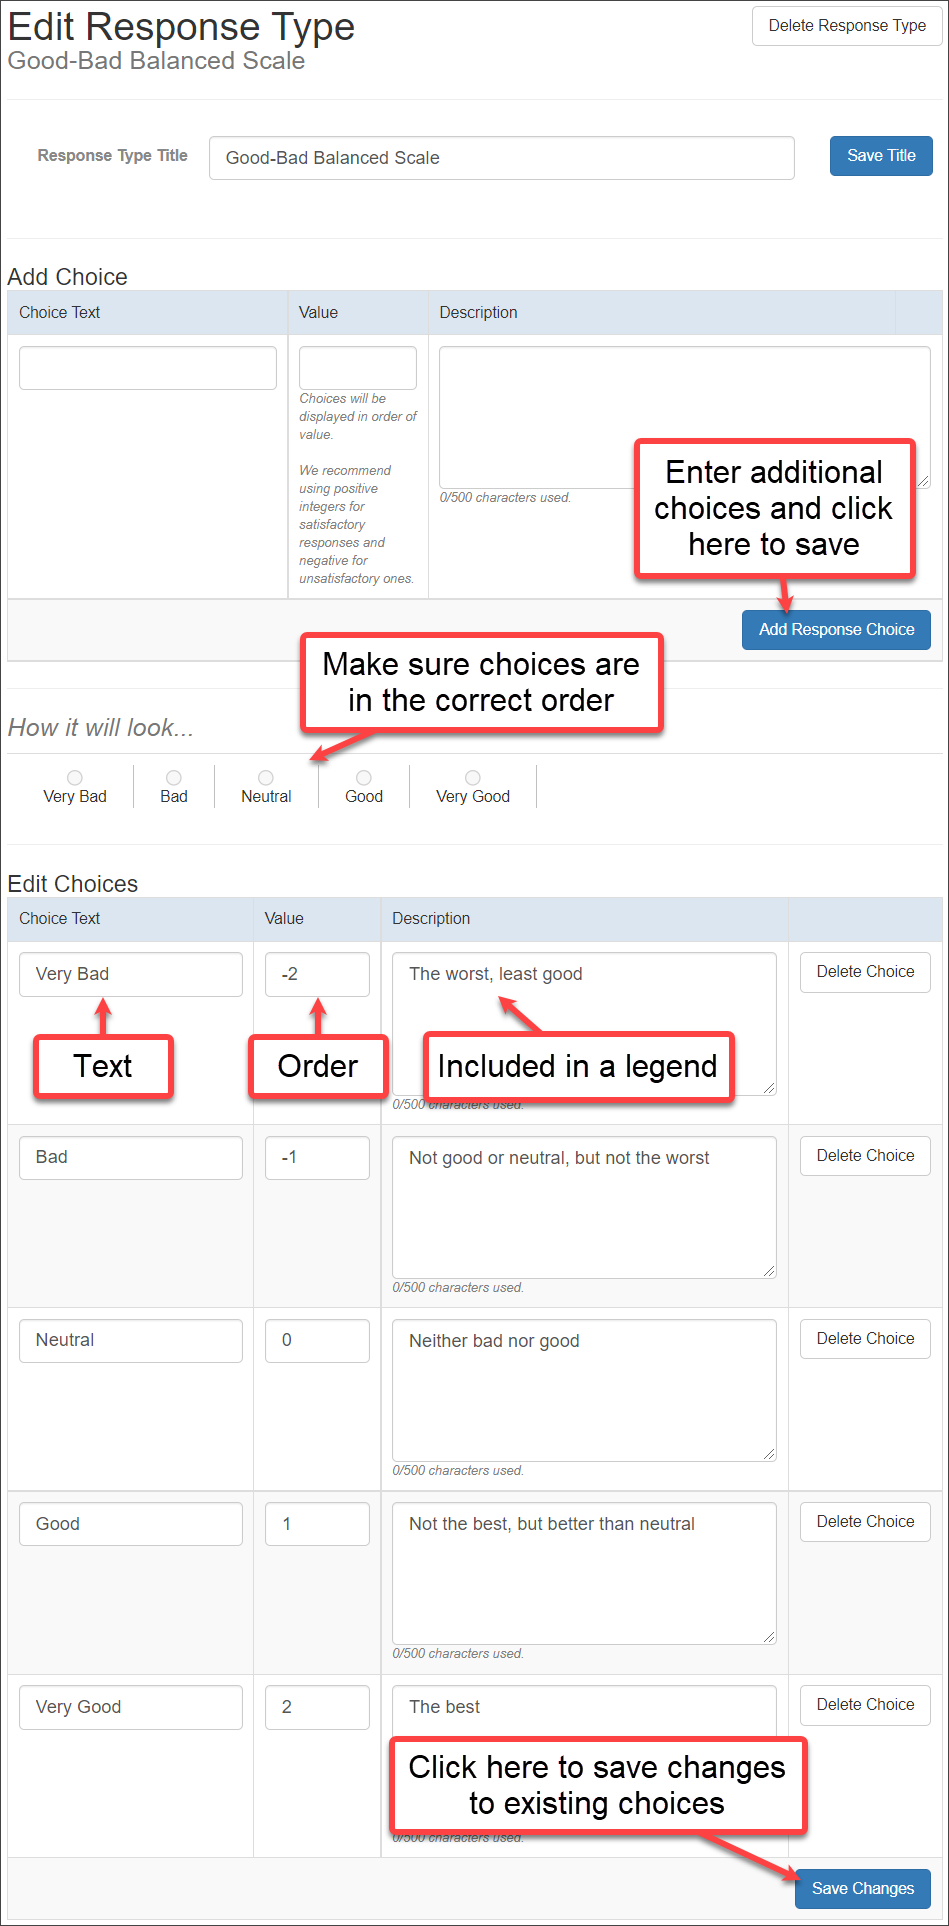
6.If you want to add more choices, add the Choice Text, Value, and Description in the boxes under "Add Choice" and then click the Add Another Response Type button. This will update the "How it will look" section.
7.Follow the same procedure until you have added all of the response choices you need.
Step 2: Create a Course Evaluation.
8.On the Evaluations tab, click the Add Evaluation button.
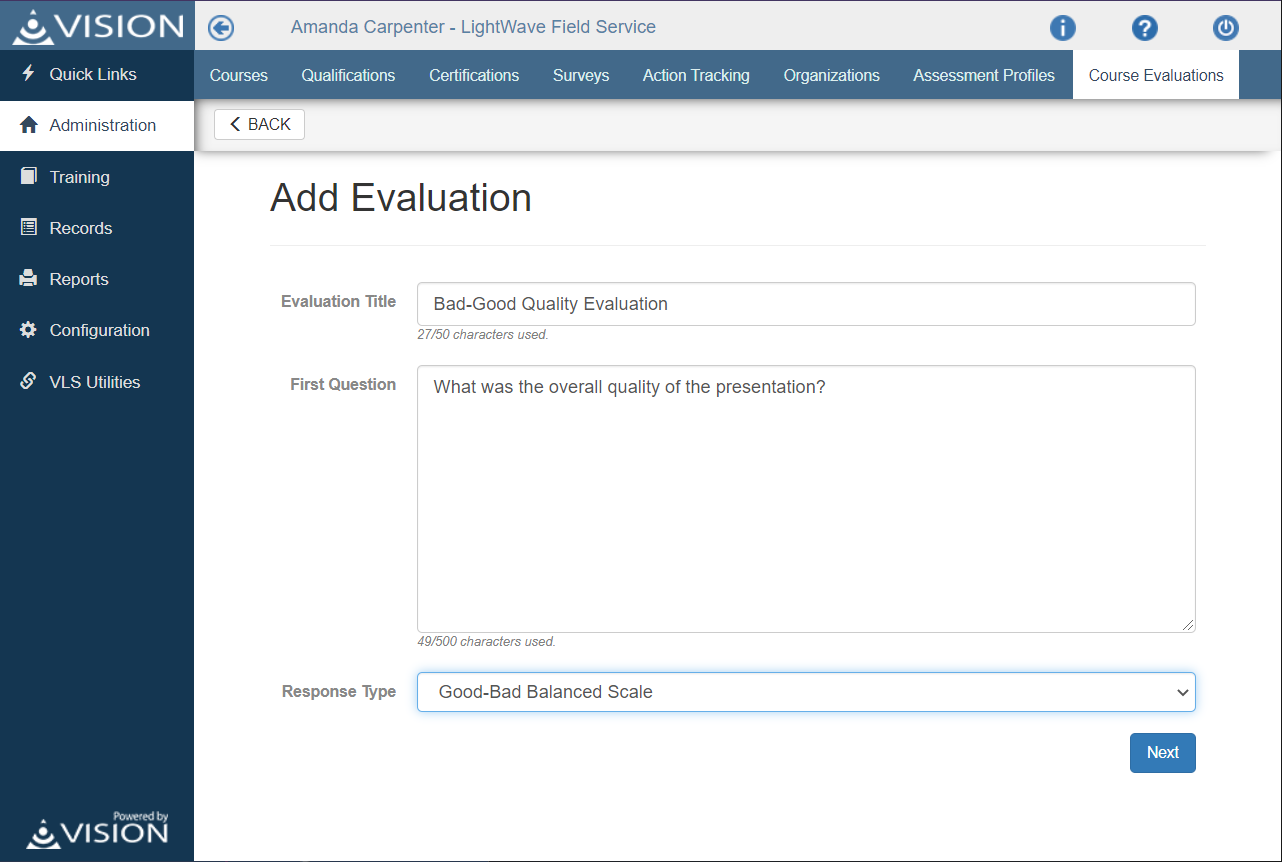
9.First you will create the course evaluation by entering the Evaluation Title, First Question, and Response Type for that question.
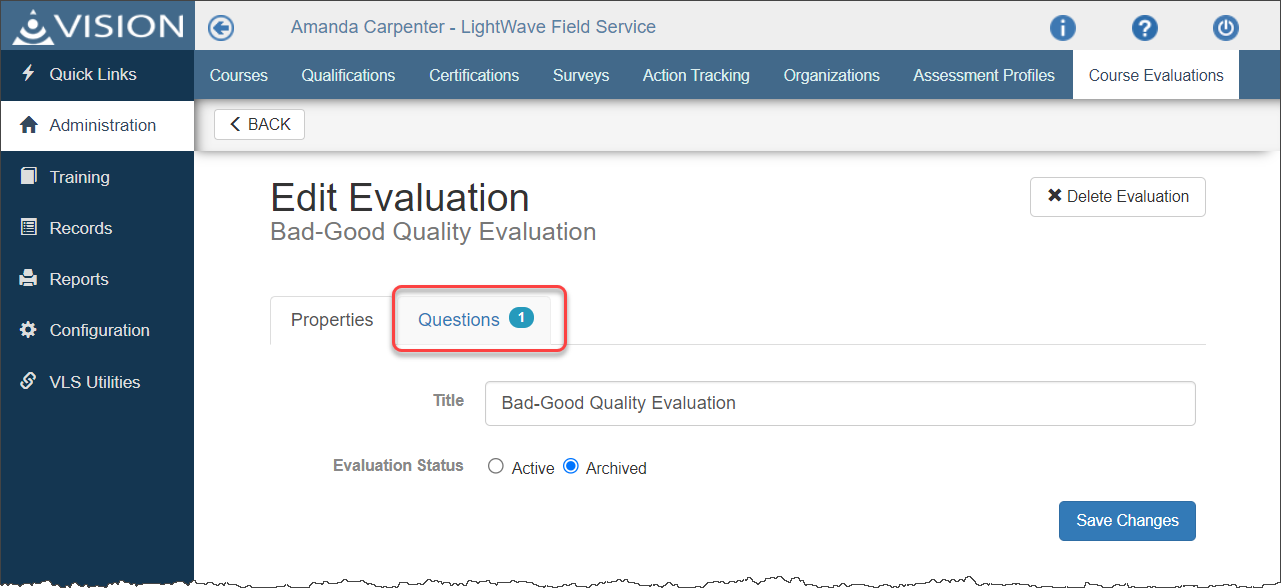
10.Click the Next button and click the Questions tab.
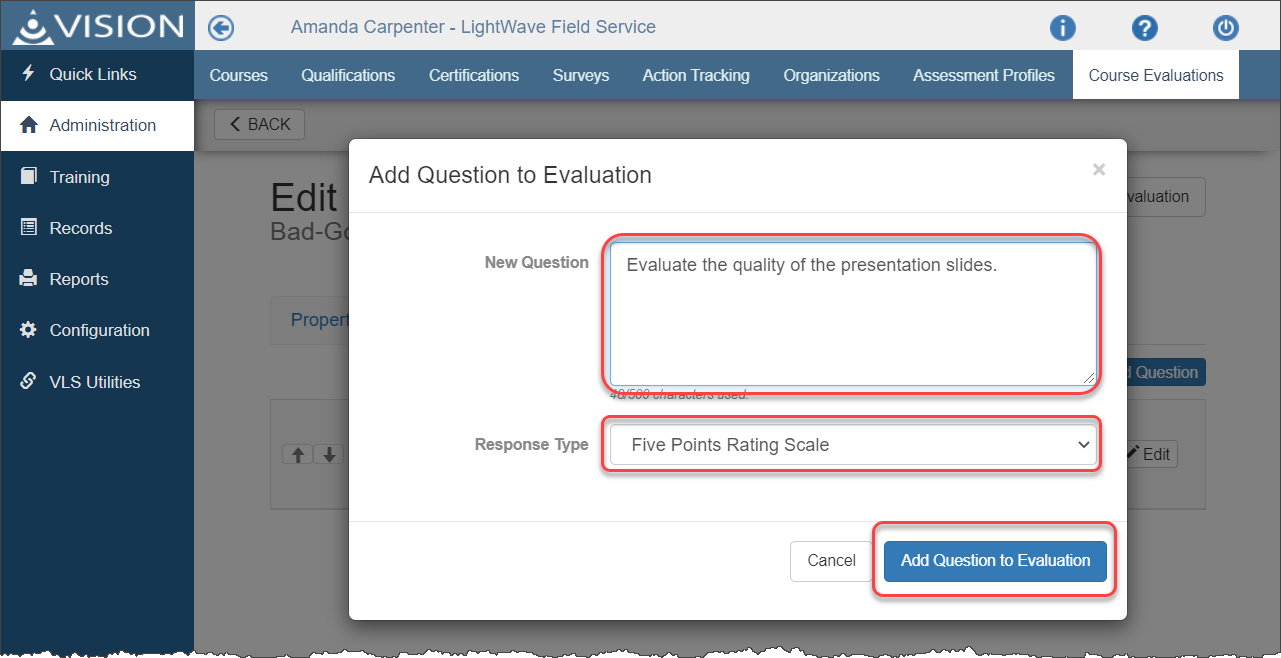
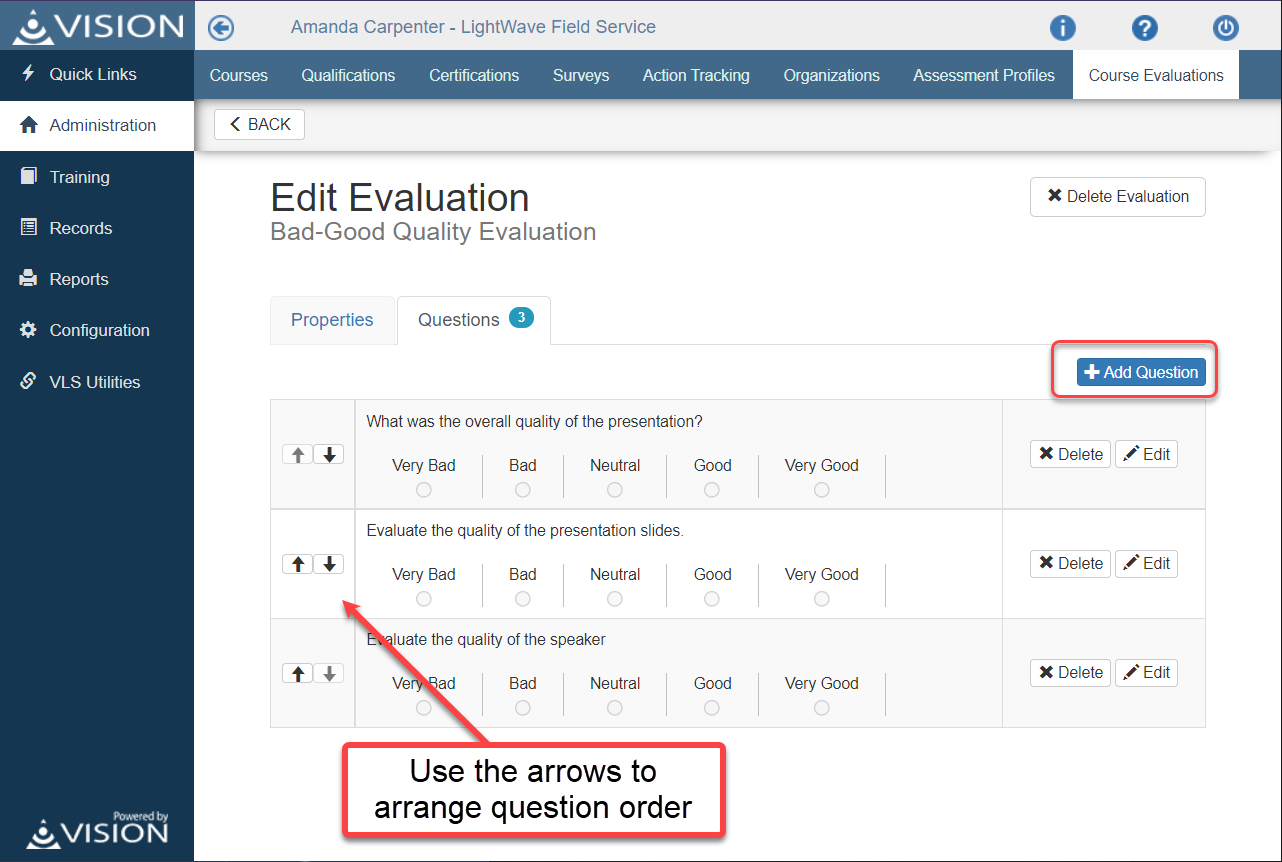
11.To add new questions to the evaluation, click on the Questions tab and click the Add Question button.
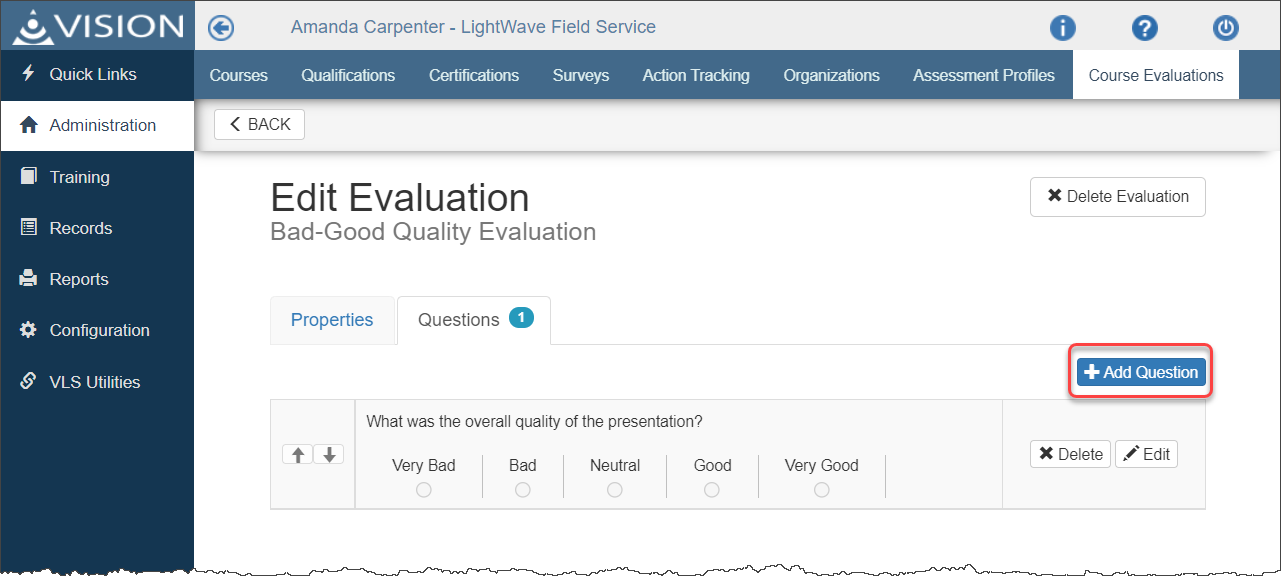
12.Enter a question in the New Question text box and select a response type from the drop-down menu, then click the Add Question to Evaluation button.
13.Continue this process until all of the questions are added.
14.When the evaluation is finished, click on the Active radio button for the evaluation's Evaluation Status on the Properties tab.
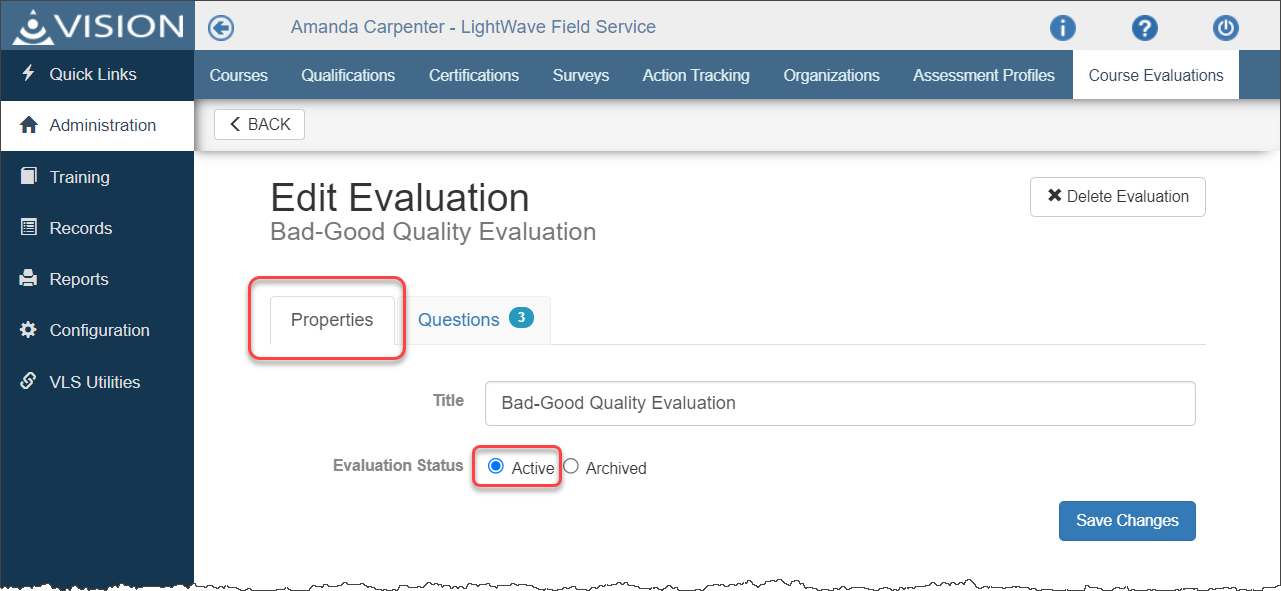
15.The evaluation is complete! You can select it when creating a Course Event.