Organize a Training Program Structure
1.From the Main Menu, select Workbench, Design Activities, and then Curriculum Design.
2.If there is more than one work area for the program, the Open Program Work Area window will appear. Select the work area that you want to open. Then click the OK button.
3.Expand the Program Hierarchy. Highlight the node of the Program Hierarchy for which you would like to add a course, module, or other level. Click the appropriate button in the Workbench toolbar: Insert As Child, Insert As Sibling Below, or Insert As Sibling Above.
 If you get a message that says "Training units cannot have children," that means you attempted to insert a node as a child of a training unit. So insert the node as a sibling instead, or as a child of something that isn't a training unit. You can re-designate a training unit as an organizer, which will enable it to accept children. However, that will end its association with any objectives that are linked to it. To re-designate a training unit as an organizer, simply open its workscreen and check the Organizer radio button on the General page.
4.On the General page of the Properties window, enter the title of the new course, module, lesson, etc. in the field provided. Check the Organizer radio button if you want the node to group training units (or subordinate organizers) or check Training Unit radio button if you want the node to directly contain objectives. Enter any comments in the Comments field that you think may help the reviewers or the author of the lesson.
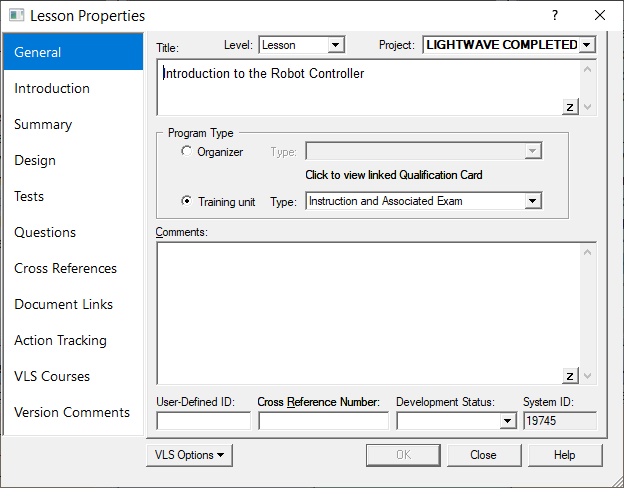
5.As an option, you can click the Introduction menu item and type an introduction to the new course, module, etc. as you would like it to appear in a finished document, such as an Instructor-Student Guide.
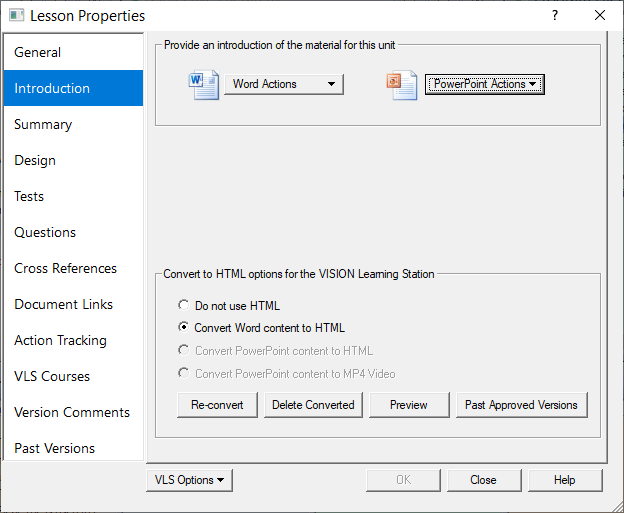
6.Click either the Word or PowerPoint Actions menu and select New. A Word or PowerPoint document will open up (VISION allows you to enter both, but you will only be able to use one at a time). Below are the options to delete Word or PowerPoint as well. As you can see in the illustration below, there is also a section for publishing your introduction in the Learning Station. Even if you don’t have the Learning Station, choosing which to publish here will determine which introduction will be associated with the lesson. It is not necessary to type the introduction right now.
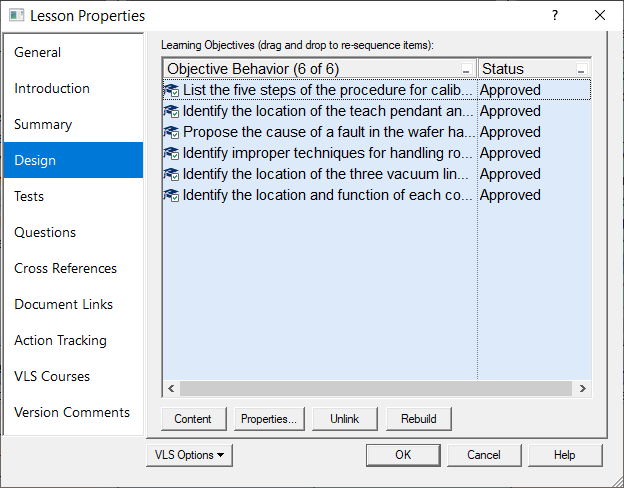
7.If the new course, module, etc., is a training unit, then you can sequence learning objectives into it. They will be displayed on the Design page. See Sequencing Objectives for instructions.
Note that if you are using the Learning Station, a Training Unit must have a development status of Completed-Active in order to be published and you must select "Publish to VLS" from the VLS Options menu at the bottom of every page.
8.After your entries are complete, click the OK button to exit the Properties window.
9.Repeat the process to create any more program nodes that you need.